When it comes to cryptocurrency security, hardware wallets like Trezor are considered one of the most reliable solutions. If you are new to crypto or recently purchased a Trezor device, you might be wondering how to get started. This guide will walk you through the setup process, explain key features, and highlight why Trezor is a trusted choice for safe digital asset storage. By the end, you will feel confident about securing your crypto with Trezor Start.
Trezor is a hardware wallet designed to store cryptocurrencies offline, away from potential online threats. Unlike software wallets, which are connected to the internet, Trezor keeps your private keys in a secure hardware device. This means hackers cannot gain access to your assets unless they physically have your device and know your PIN. Trezor was one of the first hardware wallets in the world and has built a reputation for reliability, transparency, and open-source development.
There are many reasons users prefer Trezor over other wallet types. Some key benefits include:
Setting up your Trezor for the first time may seem intimidating, but the process is straightforward. Here’s a step-by-step breakdown:
When you open your Trezor package, make sure everything is sealed and untampered. Use the included USB cable to connect your device to your computer. Always purchase Trezor from official sources to avoid counterfeit devices.
Trezor Bridge is a communication tool between your device and your computer. You can download it from the official Trezor website. Once installed, your browser can interact directly with the hardware wallet.
When you connect for the first time, the setup wizard will guide you through initialization. You will be asked to create a new wallet or recover an existing one. If this is your first Trezor, select “Create New Wallet.”
The recovery seed is the most critical part of your setup. It usually consists of 12, 18, or 24 words. Write these words on the provided recovery card and store it in a safe, offline location. Never share your seed phrase with anyone, and never enter it on a computer or online platform.
Choose a strong PIN to protect your device from unauthorized access. Every time you connect Trezor, you will need to enter this PIN. Avoid simple combinations like “1234.”
Your Trezor device may require a firmware update. Always use official sources to download updates. Keeping your firmware up to date ensures that your device has the latest security enhancements and features.
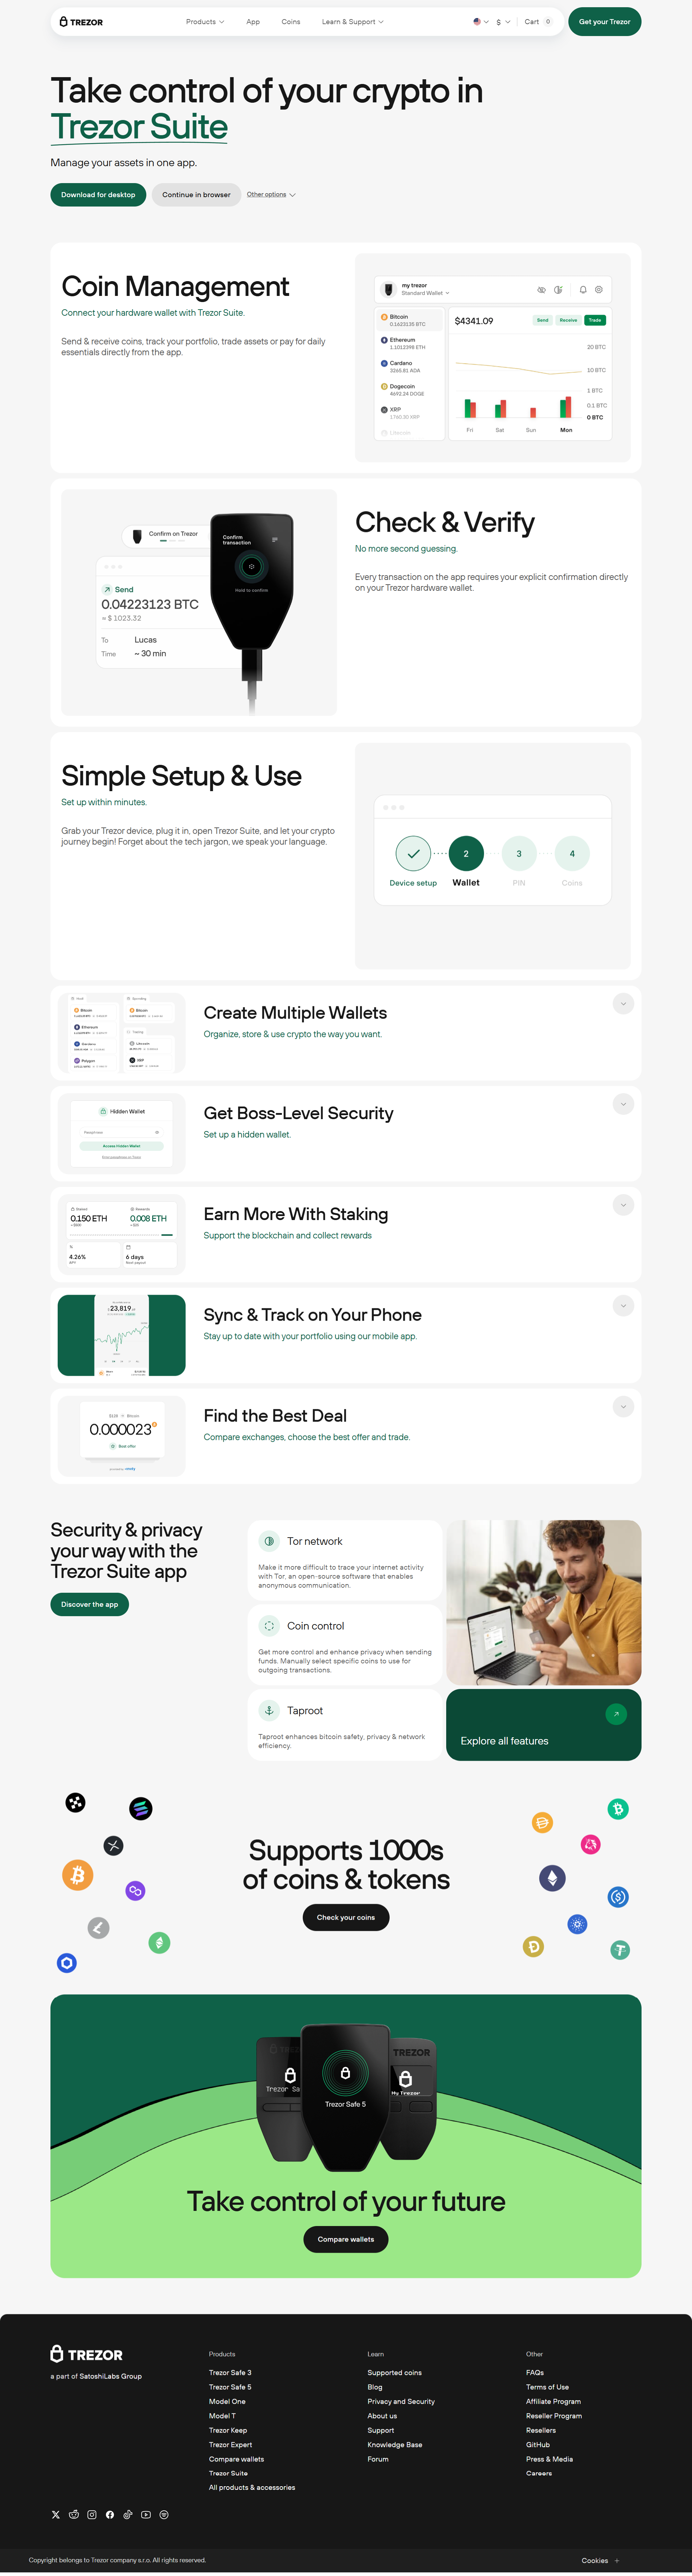
Once your device is set up, you can begin sending and receiving cryptocurrencies. Open the Trezor interface in your browser, select the coin you want to use, and follow the prompts. Every transaction must be confirmed on the Trezor device itself, adding an extra layer of security. Even if your computer is compromised, hackers cannot approve transactions without your device.
To maximize safety, follow these best practices:
Getting started with Trezor is a simple yet powerful way to safeguard your cryptocurrency investments. By following the Trezor Start process—installing Trezor Bridge, setting up your wallet, securing your recovery seed, and practicing safe transaction habits—you ensure that your assets are protected from most common threats. In an environment where digital security is more important than ever, Trezor stands as a trusted partner for crypto holders around the world.
Whether you are new to crypto or an experienced investor, taking control of your private keys with Trezor is one of the smartest moves you can make. Start today and enjoy peace of mind knowing your digital wealth is secure.